Showing posts with label Monday Made It. Show all posts

Tuesday, August 12, 2014

Monday Made It

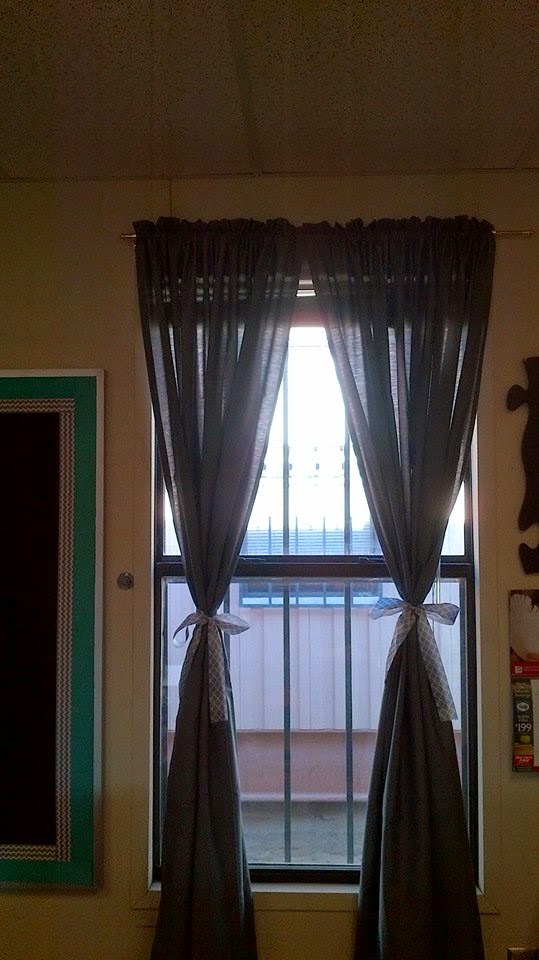
Okay, okay...I can't sew, so I have to admit that I didn't make these.  But my friend, Darsha did.  Aren't they fabulous!?  I can't believe I have been teaching this many years without curtains.  I can honestly say I don't have much up in my room right now, but these have completed transformed the look and feel of the classroom. It doesn't even feel like a portable anymore!  Now if we could only figure out a way to get rid of the safety bars {not so appealing}.  Thanks so much Darsha.  Love you to the moon and back!
 
I start school with the kiddos tomorrow, so I've been working day and night to prepare {with some Facebook, Bloglovin' and Pinterest distractions}.  I found these editable desk name tags and labels on TPT. I think they were a free download, but can't remember where I got them.  If I have time {yeah right} this afternoon, I'll see if I can find a link for them.  I absolutely love them.  I'm adding magnets to the back of the smaller ones to put on my dry erase board to use for jobs.


Monday, July 28, 2014

Anchors Away and Monday Made It


Here's a link to a previous post with this cute anchor chart.


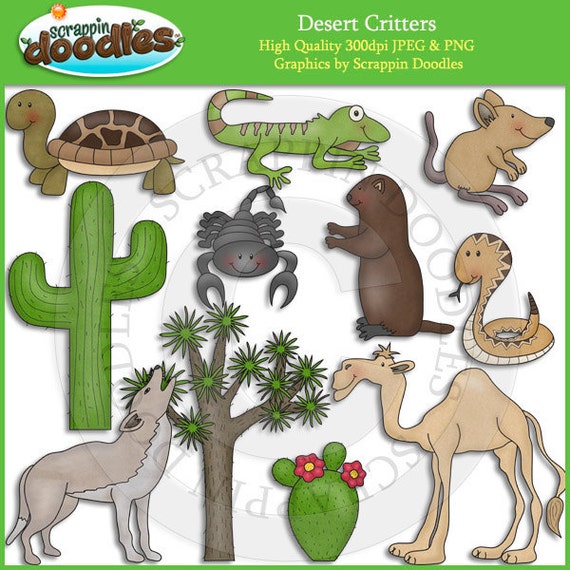
Desert Critters Clip Art

Scrappin Doodles has a set called Desert Critters.  I modeled my animals from it.  I can only {kind of} draw when I look at something.  I wish I were creative enough to create my own clip art, but no such luck.


Have you recently created an anchor chart which has proven to be helpful to your students?  Do you plan to create one this week?  Please link up with Crafting Connections! And check out what others are sharing.

  
Have you recently created an anchor chart which has proven to be helpful to your students?  Do you plan to create one this week?  Please link up!  (BTW, it's summer!!  No need to be formal...  a sketch on notebook paper for a planned anchor chart would be perfect!  In fact, in might even be fun to update us some Monday in the fall with a photo of your finished product!)   I can't wait to check out your anchor charts! 

A weekly linky party to showcase and share ideas for effective and engaging anchor charts!
Anchors Away Monday Rules:
  1. Post one photo of an anchor chart to your blog on Mondays.
  2. Add as much or as little background information as you want.  (We all know a great anchor chart can speak for itself!)
  3. Does it need to be your own anchor chart?  NO!  If you find a great one on Pinterest that you would like to blog about, go for it!  (Just be sure to give credit to the original author!)
  4. Add the Anchors Away Monday Linky image to your post and link back to my blog.  Then link up with us on my blog to join in the fun! 


I'll be back this afternoon with an installment of

Time to get my craft on...
This is one of the crafts our girls will be doing at girls camp.  So easy...I'm thinking of having my class do it for Mother's or Father's Day this year {just changing the quotes a bit}.  Our girls are doing these on 8x8 pieces of wood, but tile would be nice, too!

We sanded and spray painted the wood today.  I'll share pics with some of the completed work from girls camp in about a week! I'm setting up my classroom at the same time as camp this year, so I can only go up for a night, but I'm super excited to have this opportunity and love my girls tremendously!


Monday, June 30, 2014

Monday Made It

Today  I'm Linking Up with Tara from 4th Grade Frolics for Monday Made It! 

I invited some girls from church over to make some crafts.  We had a little mommy daughter time while the boys watched some movies.  Here's what we did for the 4th...

  
This was a super easy project and came out SO CUTE!  The girls were all smiles while they were working.  They kept saying we need to do this every week!  

So here's what we did...
I went to Home Depot and asked to have 2x4 and 2x2 lumber cut into 4",5", and 6" pieces. They were super nice in helping me out.  I then brought the pieces home and sanded them down.  We prepped the vinyl words ahead of time using the Silhouette {I'm OBSESSED!}  The girls then traced the wood on the scrapbook paper and cut.  Some of the girls even cut paper for the top, sides, and back to give it a "wrapped" look.  We then used spray adhesive to attach the paper to the wood and sanded the edges to make it appear worn.  We let them dry while we snacked and chatted and then added the vinyl words.  You just place the words where you want them and then rub them.  We used popsicle sticks which worked out perfectly.  We were going to spray or brush on Mod Podge, but when I tried it, my paper was starting to come off and bubble, so we just decided to leave them as is.  Now all we need to do is  add a little ribbon and find a cute place on the mantle to show it off.

And, in case you missed my post yesterday,  here it is {and there's BIG NEWS}...
PLEASE JOIN US!  I can't wait to see what products you have in your store that match with these decor and themes.  This is a great way to share what you've done and buy some products from some of your blogging buddies. We all work so hard and spend a lot of time and money, so let's Let's make sure to leave feedback as well to help each other out!  I just adore all of you {and your cute blogs, Facebook pages, and TPT products}! 

I'll be away from the blogging world for awhile, but when I come back, this is what I have planned.  I'd love for you to join me in these two linky parties.  It will be two full weeks of sharing your TPT products.  You don't have to join me everyday, but if you have a product that you'd like to post at a discount, please link up.  Don't forget to visit and see what all of your blogging buddies have available.  I have organized classroom decor themes the first week and by theme the second week.  Just thought I'd share the news with you ahead of time, so you can prepare. 


A special thanks to these amazing ladies for their beautiful products! 


Monday, June 16, 2014

Monday Made It

Today I'm linking up with

Fourth Grade Frolics
This was so easy.  I just bought a frame and upholstery fabric from the craft store.  Then I just measured, cut, and framed.  All I need to do is add a clip (so I don't have to open the frame each time I want to switch the pic) and I'm done!


{How to}
I have to admit that I didn't make these.  I bought them at the craft store and added the clothespin, but afterwards thought these would be totally easy to make.  I found a tutorial to share with you.  I'm going to make some of my own using different colors once I figure out my color scheme for the coming school year. 

Just click on the photos below to see a tutorial from The Handmade Home

the handmade home


{In the works} 

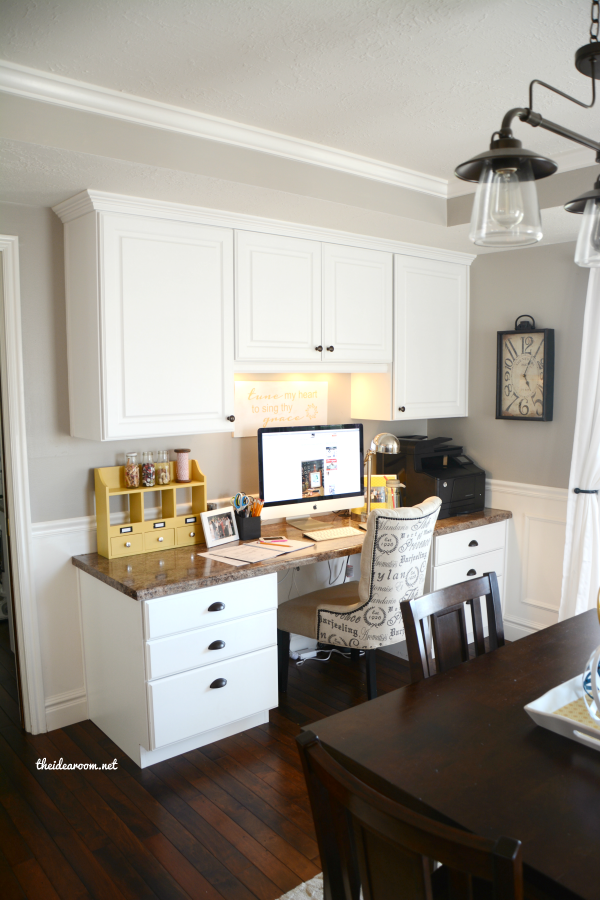
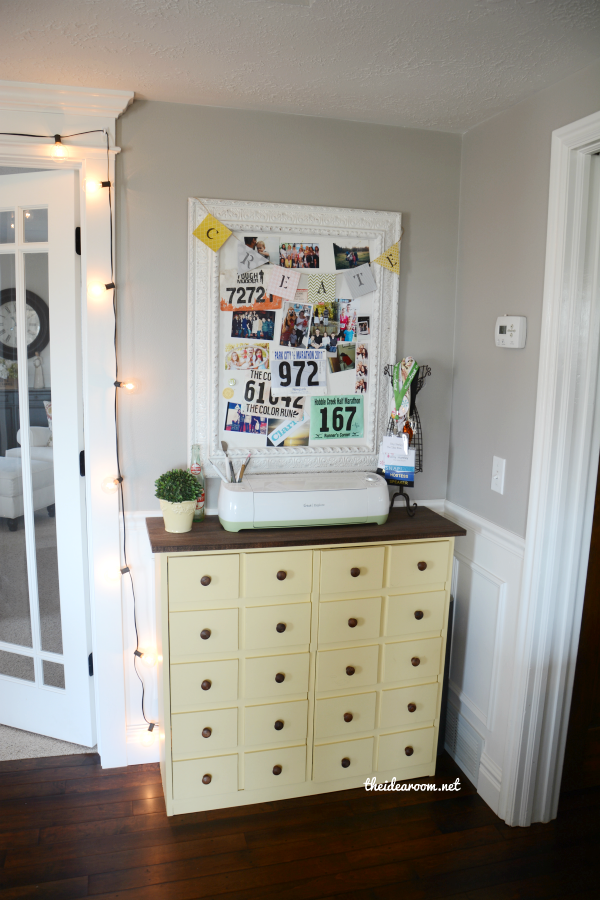
Here is a pic of some of the projects I've started and haven't finished.  Yes, I do that! I found eggshell white at Lowes yesterday.  It as only $5!  SO...here's my little secret...sometimes people buy paint and then bring it back when it's not exactly the right shade for their project and then it's way discounted...and I'm super happy!  I fell in love with this color and am going to use it to paint my home office/craft room.  {I want my home office to look something like this-from The Idea Room}

office-organization apothecary-cabinet


I  didn't love this 4th of July frame when I saw it n the store, but it was like 80% off last year, so I just HAD to buy it knowing I'd have to work on it.  So I'm going to paint it and add fabric.  H'ere's another little secret...the craft stores bundle extra fabric that they can't sell by the yard and discount it a whole bunch, too (I got the upholstery in the photo above for less than $3!). Goodness,  I'm giving all my secrets away today!

I started the display for necklaces at one of our craft days at church.  A friend of mine really like the knobs I had, so I gave them to her and went back to the craft store to buy more.  Of course, I don't have a drill, so it's been sitting in my laundry room.  My mom was just bragging about her new drill the other day, so I've decided to drive to my mom's house today to make sure it works! ;)  
I'll post pics when they're all done.  


Monday, July 29, 2013

Monday Made It

I just recently purchased Living Social and Groupon deals for Vistaprint. You pay about $10-$20 and get $50-$70 of printing depending on the deal you get.  Here are some of the things I made today...

Homework Punch Card
Business Card

Welcome to 4th Grade 
Brochure

Classroom Rules 
Poster

Reading Punch Card
 Postcard

You've Been Booed!  
Business Cards

This Book Belongs to
Labels

Vistaprint also has some cute pens, shirts, totes, and other items.  I got some totes for some friends.  If you spend an additional $25 shipping is free.  Otherwise its about $17.  Might as well buy some more cute stuff that you want need...right?